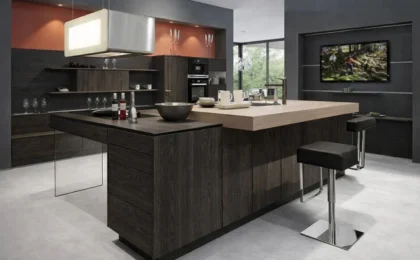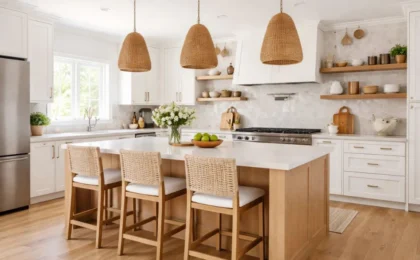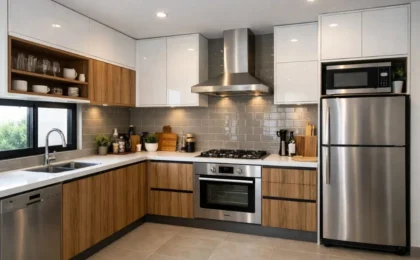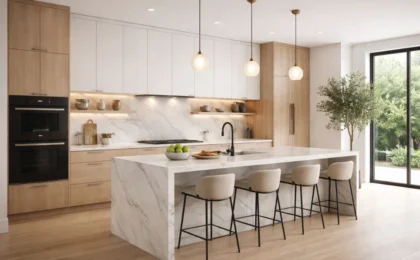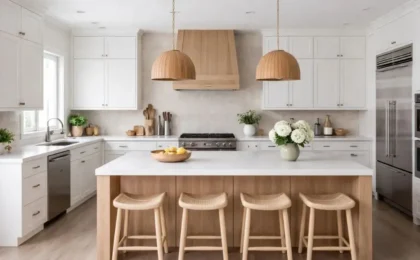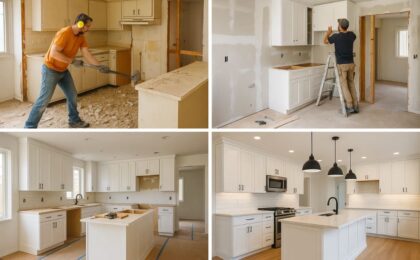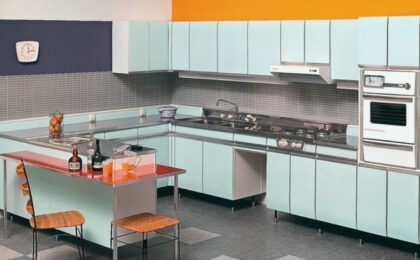
If your kitchen cabinets are looking outdated or worn, repainting them can be a cost-effective way to give your kitchen a fresh, new look. With the right tools, techniques, and patience, you can achieve a professional-quality finish without hiring a contractor. Follow these DIY tips to repaint your kitchen cabinets like a pro and transform your space effortlessly.

Step 1: Gather Your Supplies
Before you start, make sure you have the necessary materials:
✔ Sandpaper (120- to 220-grit)
✔ Degreaser or mild soap
✔ Painter’s tape
✔ Screwdriver
✔ High-quality primer
✔ Paint (latex or oil-based)
✔ Paintbrushes and foam rollers
✔ Drop cloths and plastic sheeting
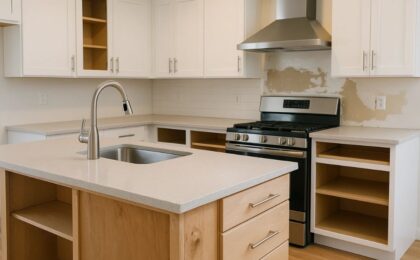
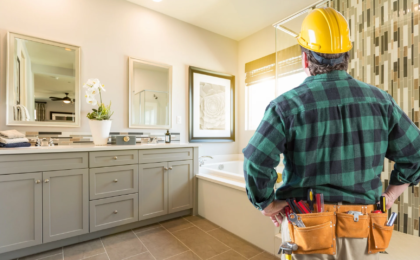
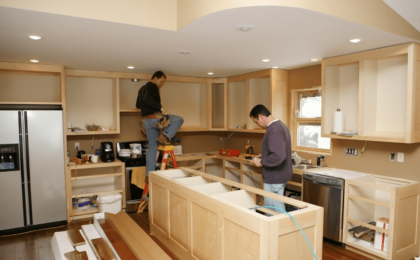
Step 2: Remove Cabinet Doors and Hardware
Start by removing the cabinet doors, drawers, and hardware (hinges, knobs, and handles). Label each door and drawer to ensure easy reassembly. This step makes painting more efficient and prevents drips on hardware.
Step 3: Clean and Degrease
Kitchen cabinets accumulate grease, dirt, and grime over time. Use a degreaser or mild soap with warm water to thoroughly clean all surfaces. Allow them to dry completely before proceeding.
Step 4: Sand the Surfaces
Sanding helps the new paint adhere better. Lightly sand all cabinet surfaces with 120- to 220-grit sandpaper. If your cabinets have a glossy finish, sanding is essential to remove the sheen. Wipe away dust with a damp cloth.
Step 5: Apply a High-Quality Primer
Priming is crucial, especially if you’re painting over dark or stained cabinets. A high-quality primer blocks stains and ensures smooth paint application. Use a brush for edges and a foam roller for flat surfaces. Allow the primer to dry completely.
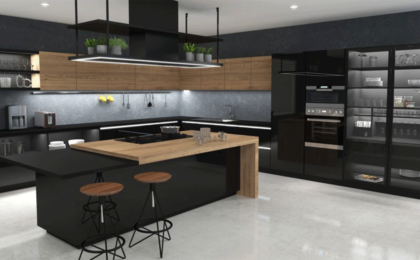
Step 6: Choose the Right Paint
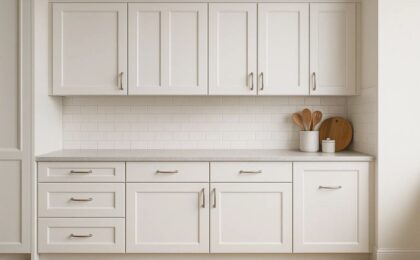
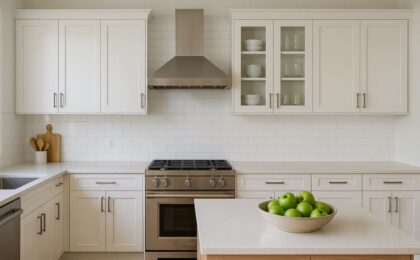
For kitchen cabinets, use durable, washable paint. Latex paint is user-friendly and dries quickly, while oil-based paint provides a tough, long-lasting finish. Semi-gloss or satin finishes work best for easy cleaning and a polished look.
Step 7: Apply Paint in Thin Layers
Use a high-quality brush for edges and a foam roller for large areas. Apply multiple thin coats instead of one thick coat to prevent drips. Let each coat dry completely before applying the next. Most cabinets need two to three coats for an even finish.
Step 8: Allow Cabinets to Cure
Once the final coat is applied, allow the paint to cure for at least 24 to 48 hours before handling. Avoid heavy use for about a week to ensure the paint fully hardens.
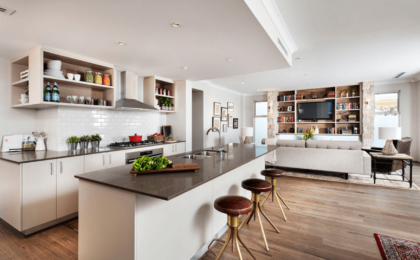
Step 9: Reassemble and Add Finishing Touches
Reattach cabinet doors, drawers, and hardware. If desired, upgrade to new handles or knobs for a fresh look. Carefully inspect for any touch-ups needed.

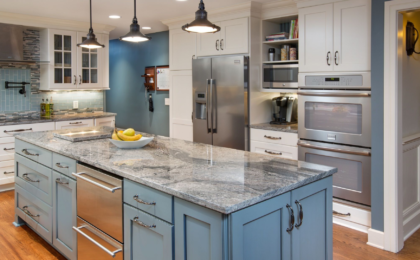
Conclusion
Repainting your kitchen cabinets is an affordable and rewarding DIY project that can transform your kitchen. With patience and attention to detail, you can achieve a stunning, professional-quality finish. If you prefer expert craftsmanship, Simora Kitchen offers high-quality, beautifully finished cabinets that elevate any kitchen space.